Okay…I was feeling energetic the other day, and began searching on-line for easy ways to build my own photo backdrop. I decided I needed one for some of these blog posts, because I was tired of everyone seeing my messy kitchen and garage in the background of all my pictures. I thought if I only had a backdrop, I could block all that out. I read several articles on Pinterest showing me quick easy ways to make a small backdrop, and thought about how fun it would be to have that as my weekend project. My husband could help me, the kids could be involved. In my mind it would be a fun family activity. Well…then I searched on Amazon to see what they had available, and when I found the LimoStudio Photo Studio, and realized that my husband was traveling until Saturday, and Easter was on Sunday, my plans went out the window, and I clicked “Add to Cart,” and my LimoStudio Photo Studio was delivered to my front porch a few days later!!!
I was amazed and happy at how easy it was to set it up for the first time. Basically, it comes with 2 trip-pod like stands and you attach bars across the top (where you hang your backdrop). The legs adjust up to a maximum height of 8.5 feet and the width is also adjustable – it can be adjusted from 5 feet to 10 feet. The top cross bar consists of 4 sections, so it is very easy to adjust the width (just like the height). I set up the bars and quickly attached a piece of white muslin from Neewer that I had ordered and clipped it across the bar. And just like that…I felt like I had my own little studio in my garage!
Of course, now that I had a studio, I needed a model to test out my new backdrop system. My daughter, Morgan was quick to take on the challenge.

Here is a picture of the LimoStudio Photo Studio Support System with a 6×9 foot Muslin backdrop from Neewer. Total cost of this set up – stand, muslin, and clips was about $60. It took about 10 minutes to unpack it all and set it up!
As you know, most of my pictures are taken outside, and in the background you always see my garage, my yard, or some cars on the street. It was nice to have a crisp, clean background for once… My little mermaid was very comfortable being my model. It didn’t take much to convince her to test out my new backdrop. Especially when she realized that I was going to let her pick the outfit. So here is what we got – I think it looks pretty cool. Obviously, I did not have time to iron the muslin backdrop before I took the pictures, so you can see the wrinkles, but I think you get the idea.

My sweet little mermaid was such a happy little model! So glad I had her around to help me test this out.
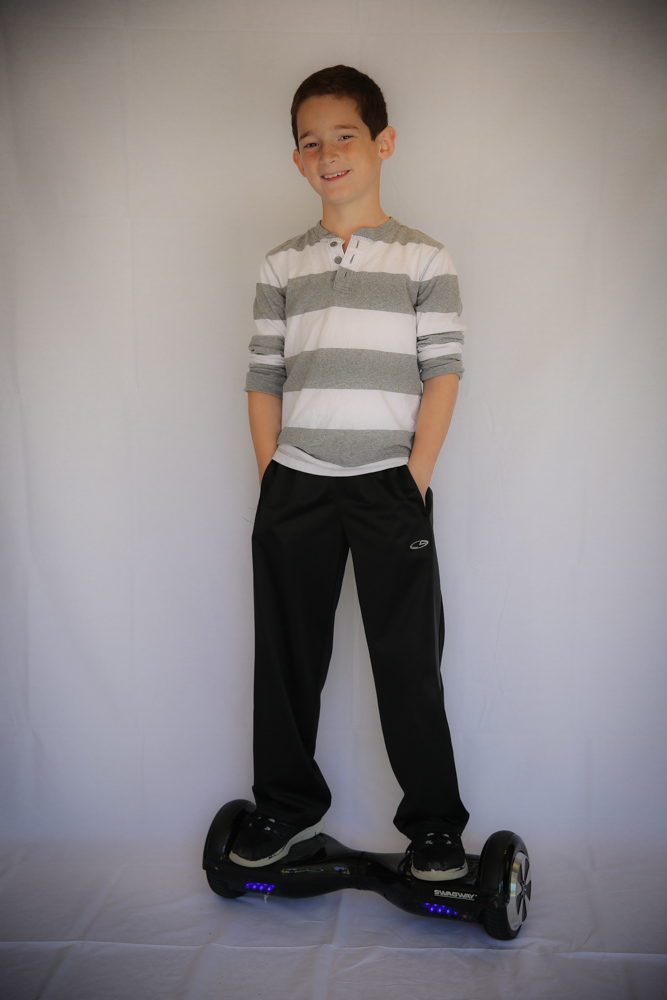
Zach wanted nothing to do with my new photo studio in the garage, until I told him he could pose for me on his Swagway hoverboard!
I also tested it out taking pictures of my new trip-pod. I proved that it really looked good with my kids in front of it, but would it make a difference for products? It made a huge difference. I was very impressed with the pictures I got of my Canon 5D-Mark III on my awesome Manfrotto Tri-pod! It just made the camera and tripod stand out so much. Much easier to showcase a product when you don’t have the distraction of my messy garage or kitchen! Right?
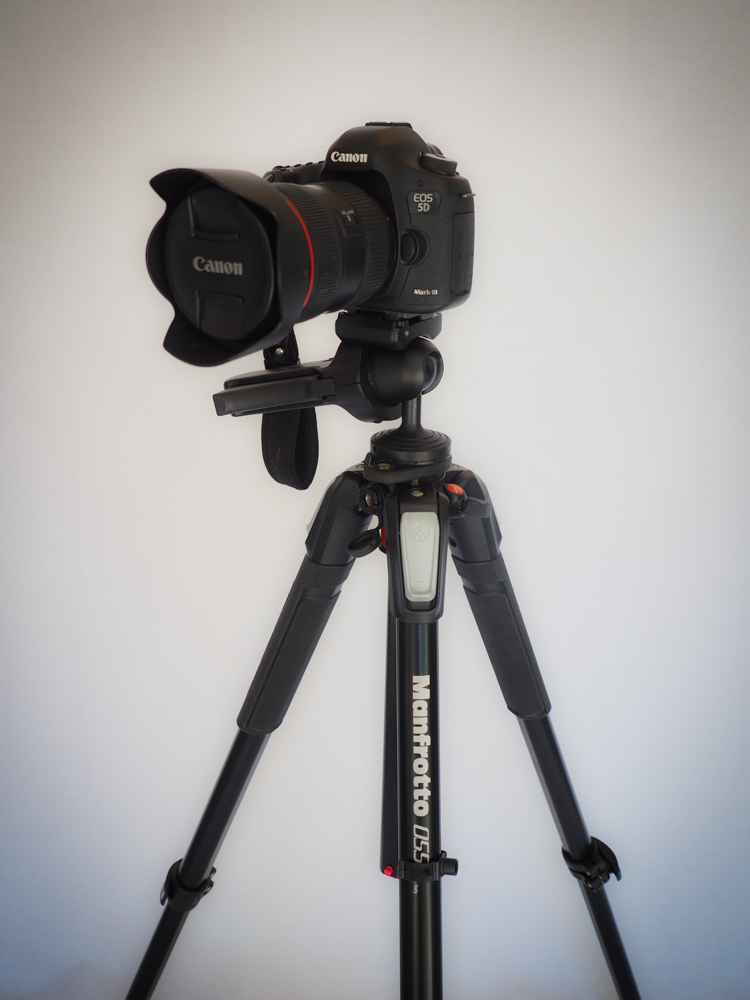
No distractions, right? It’s nice to be able to focus on the camera and the tripod. Nothing else!
If you have time to create your own backdrop, this article is a great one to read. It’s called 55 Awesome DIY Photography Backdrops. In fact, I’m going to use some of their ideas with my Limo Studio set up. First thing I’m going to do is buy some shower/curtain rings to use. That way, I can use any cheap shower curtain or curtain panels (or towels) for different occasions. I also liked the idea of paper chains making a sort of curtain/backdrop! So many great ideas…
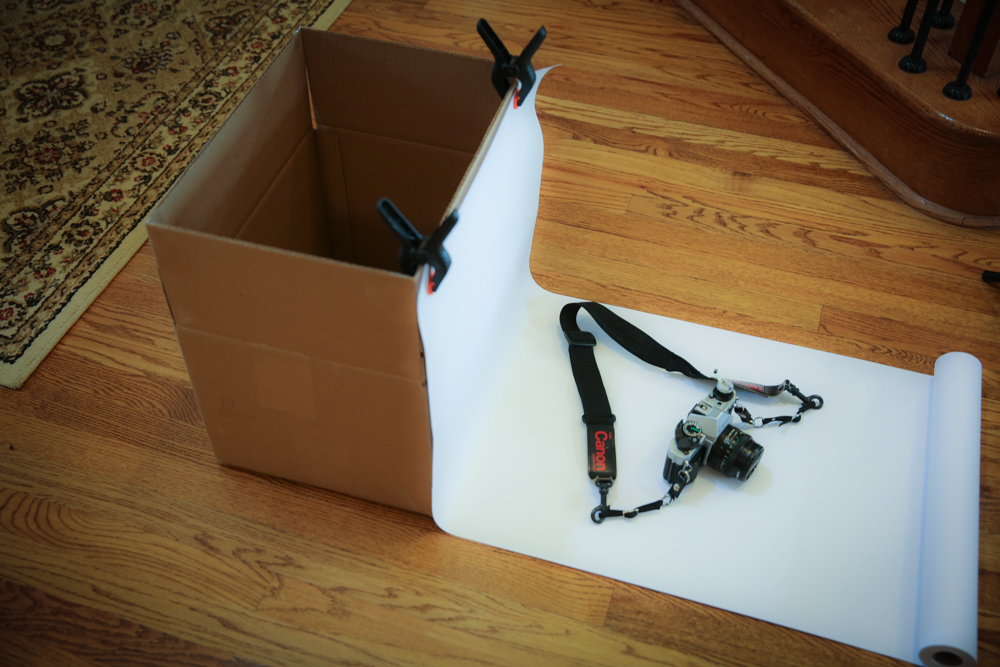
So after playing with my LimoStudio setup, I decided that I also needed a small version of this backdrop for smaller items, such as my Canon AE-1 Program camera that I bought on eBay! I’ll explain that purchase later… I went to my garage, taped up a box, got some butcher paper and some clips, and created a mini-studio right in my hallway!
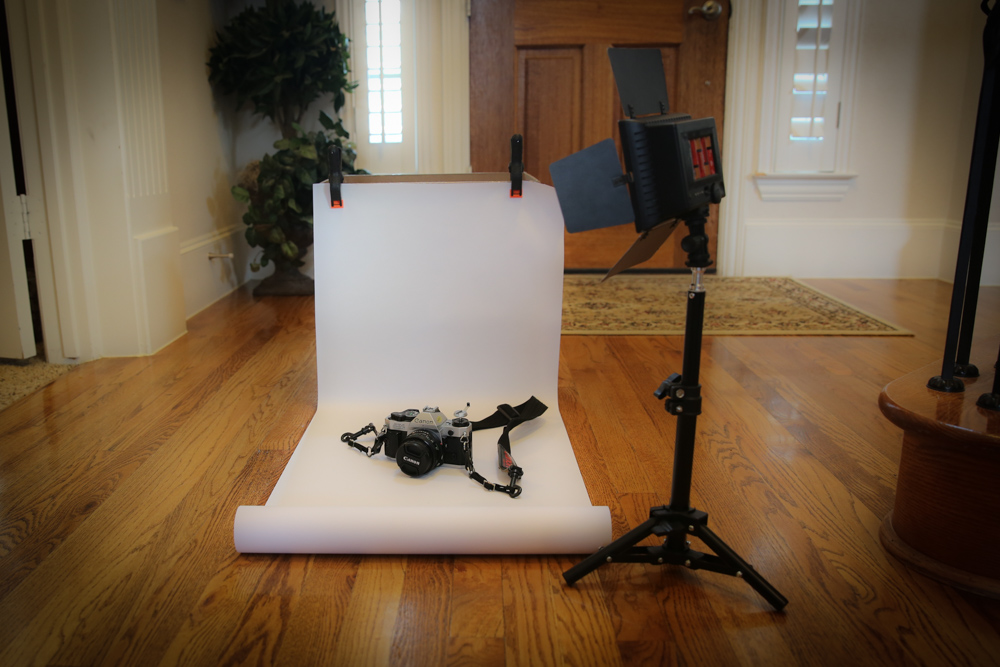
And here it is… A cardboard box with butcher paper clipped to it. I also used my little LimoStudio 2 piece battery powered lighting kit because my hallway was a little dark.
This was a perfect set up for a quick, indoor photo shoot with this small Canon AE-1! I was so pleased with my little studio – – it took me about 15 minutes to set it all up. The lights helped a great deal – they are called LimoStudio 2 Piece LED 160 Photographic Lighting Kit. They are easy to set up – they run on batteries and have a dimmer switch. If you are going to use them with the LimoStudio Photo Studio Backdrop that I used in my garage, you would need to set them up on a table top, because they don’t extend very high. But for this project in my hallway, they were perfect!
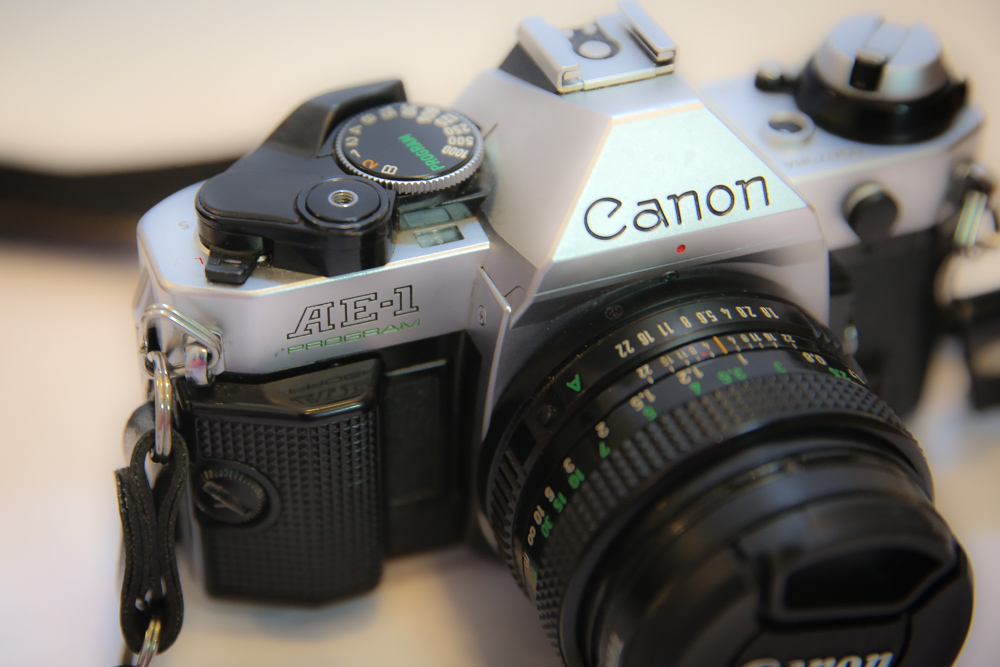
Here is how the picture turned out. Not bad for a quick home-made backdrop, right??
I found it very easy to set up and take down. One thing I really like is that it folds up neatly into a nice little carrying case when you are finished – it would be very easy to transport with you. So….within about 15 minutes, I had converted my garage (and my hallway) into a miniature studio! It was a fun little experiment. So…get your cardboard box, a sheet, and some clips, or head on over to Amazon to buy a LimoStudio set up, and take some pictures! Until next time…
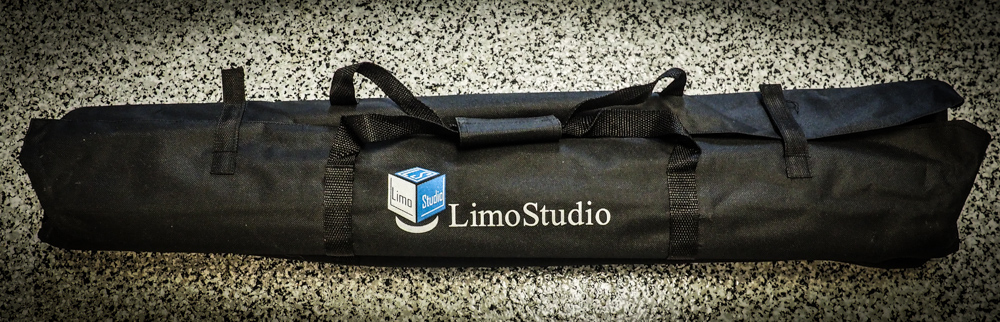
And here it is…my studio all packed up in a nice little carrying case! Easy to store and carry around, huh?