With sleep in my eyes, I stumbled to the back door early one morning to let my dogs out. With my bleary eyes, I could barely see the beautiful spider web hanging from my arbor on my patio in the backyard. It was so pretty – the sunlight was behind it and it just looked so beautiful. I had noticed a spider web in the same place the last few days when I let the dogs out (always early in the morning), but this one was much larger than the ones I had seen earlier in the week. So…I quickly ran to grab my camera so I could take some pictures. I never dreamed how difficult it would be to get a shot that would actually show people how beautiful this spider web actually was!
I was using my Canon 5D-Mark III – – very hard to take a bad picture with this camera, and I had my Canon EF 24-70 Zoom Lens attached. Unfortunately, I do not own a macro lens (yet), but I’ve got my eye on the Canon EF 100mm IS USM Macro Lens. If I don’t get it soon, it will be at the top of my Christmas list this year!! You know…just in case I see another spider web in my backyard. Little did I know that there would be many spider webs heading my way in the coming days…
I snuck outside with my camera, and I took several shots. I thought they were okay (just seeing them on the tiny preview screen), but when I got up to my computer and loaded them on, they were not so great! I decided I needed to Google “how to photograph a spider web,” and when I did, several good articles came up. My favorite was titled “How to Photograph A Spider’s Web” posted by Darren Rowse on the Digital Photography School’s website! I find his articles very easy to read with clear explanations that make sense for this photography nut – who isn’t a professional photographer, but just a mom who loves to take pictures! His articles actually make me feel pretty smart!
Much harder than I thought to take these pictures. I kept losing sight of the spider… He was totally creeping me out!
In the article, Mr. Rowse listed several things to do and keep in mind when shooting a spider web… Here are a few of his suggestions, and short descriptions of what I did wrong (and a few things I did right)…
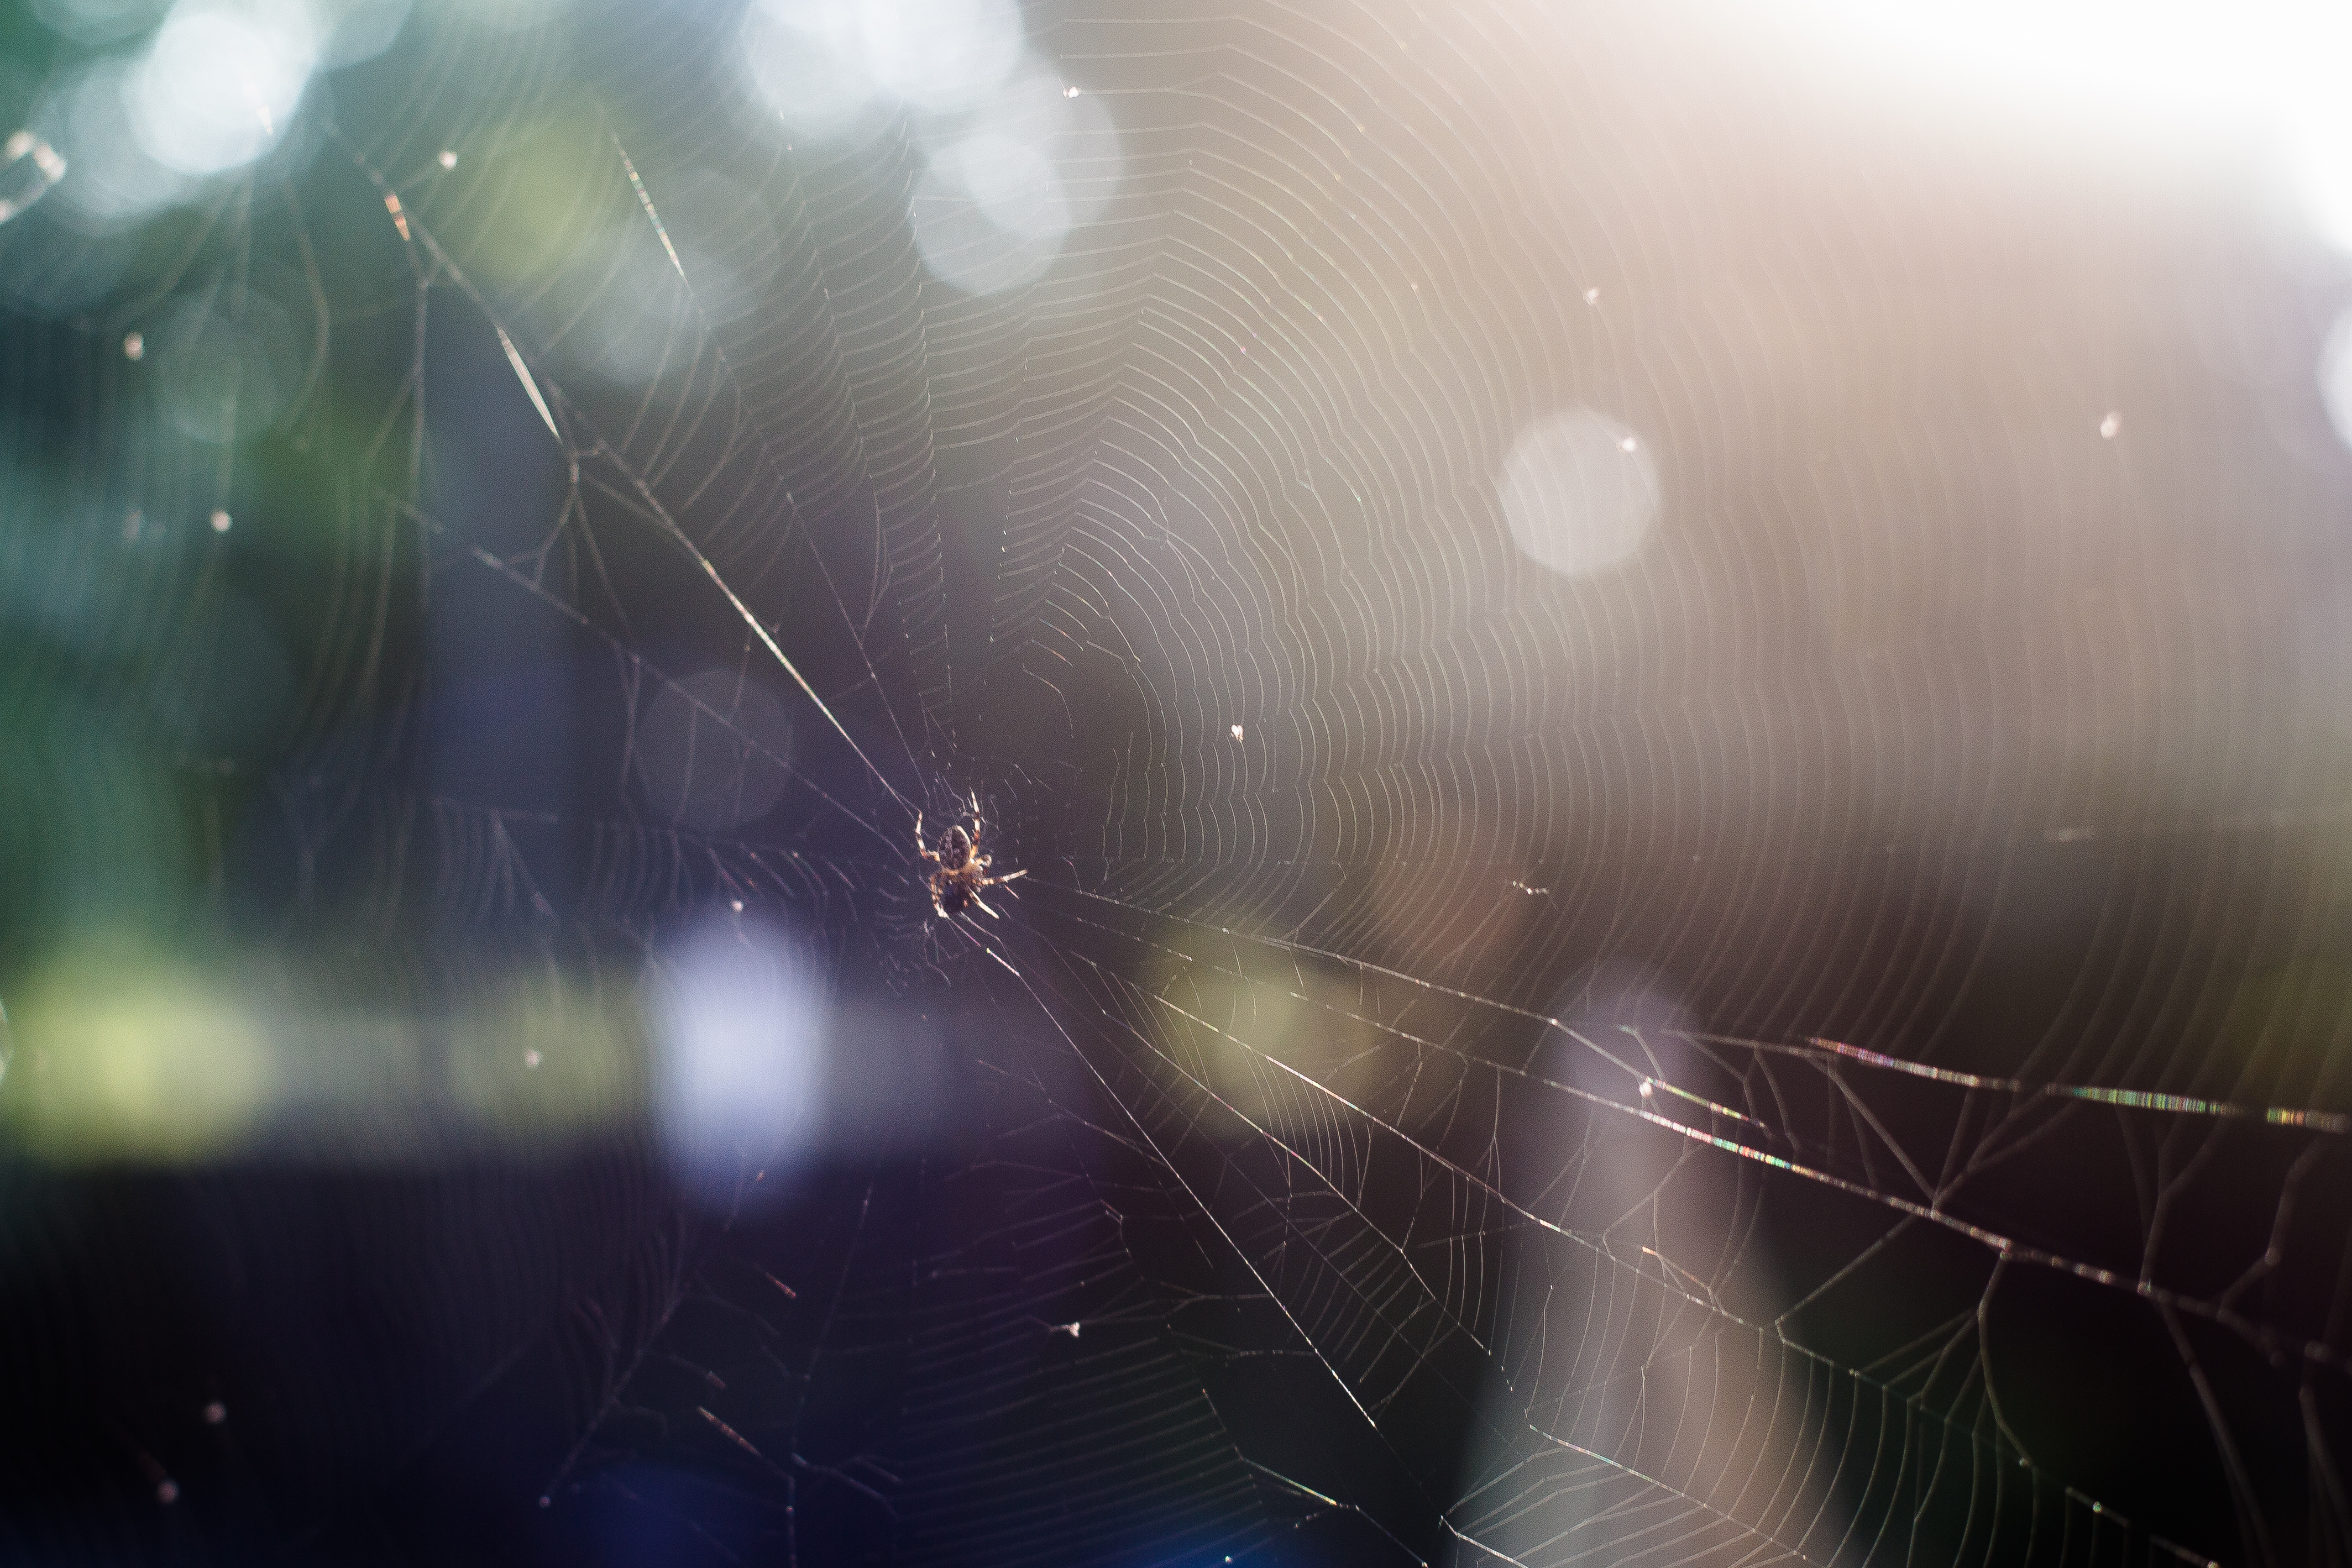
- Shoot on a Still Day – I can tell you for sure this was a still day. In fact, it was 7:30 in the morning and it was already 92 degrees with a humidity level that was off the charts. There was not a breeze to be found! So…with my Canon 24-70 lens, I was able to get some pretty good shots. I think a macro lens would have been better, but I took these pictures before I read this excellent article with so many great suggestions.
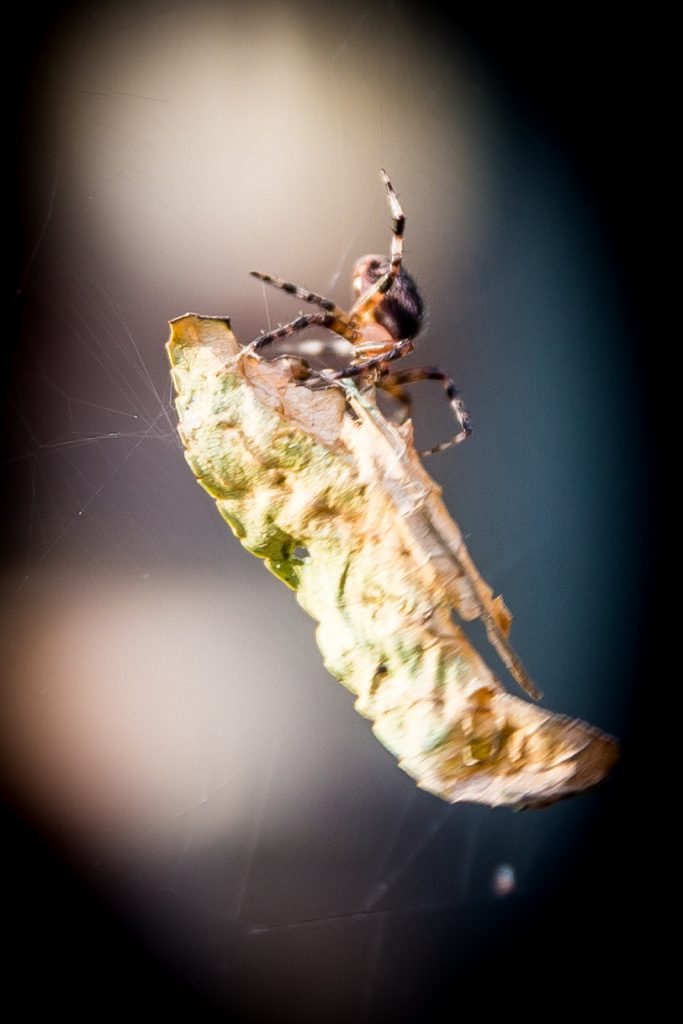
- Be An Environmentally Friendly Photographer – In this section of the article, Mr. Rowse mentions that if there is a beautiful spider web to photograph, then that means there is also a creepy spider nearby! Right? So be ready!!! I was very aware of the creepy little spider who had spun this web I was trying to photograph – and any time I touched the web (either on purpose or by mistake), he came scurrying down the web to check things out! It was totally creepy…
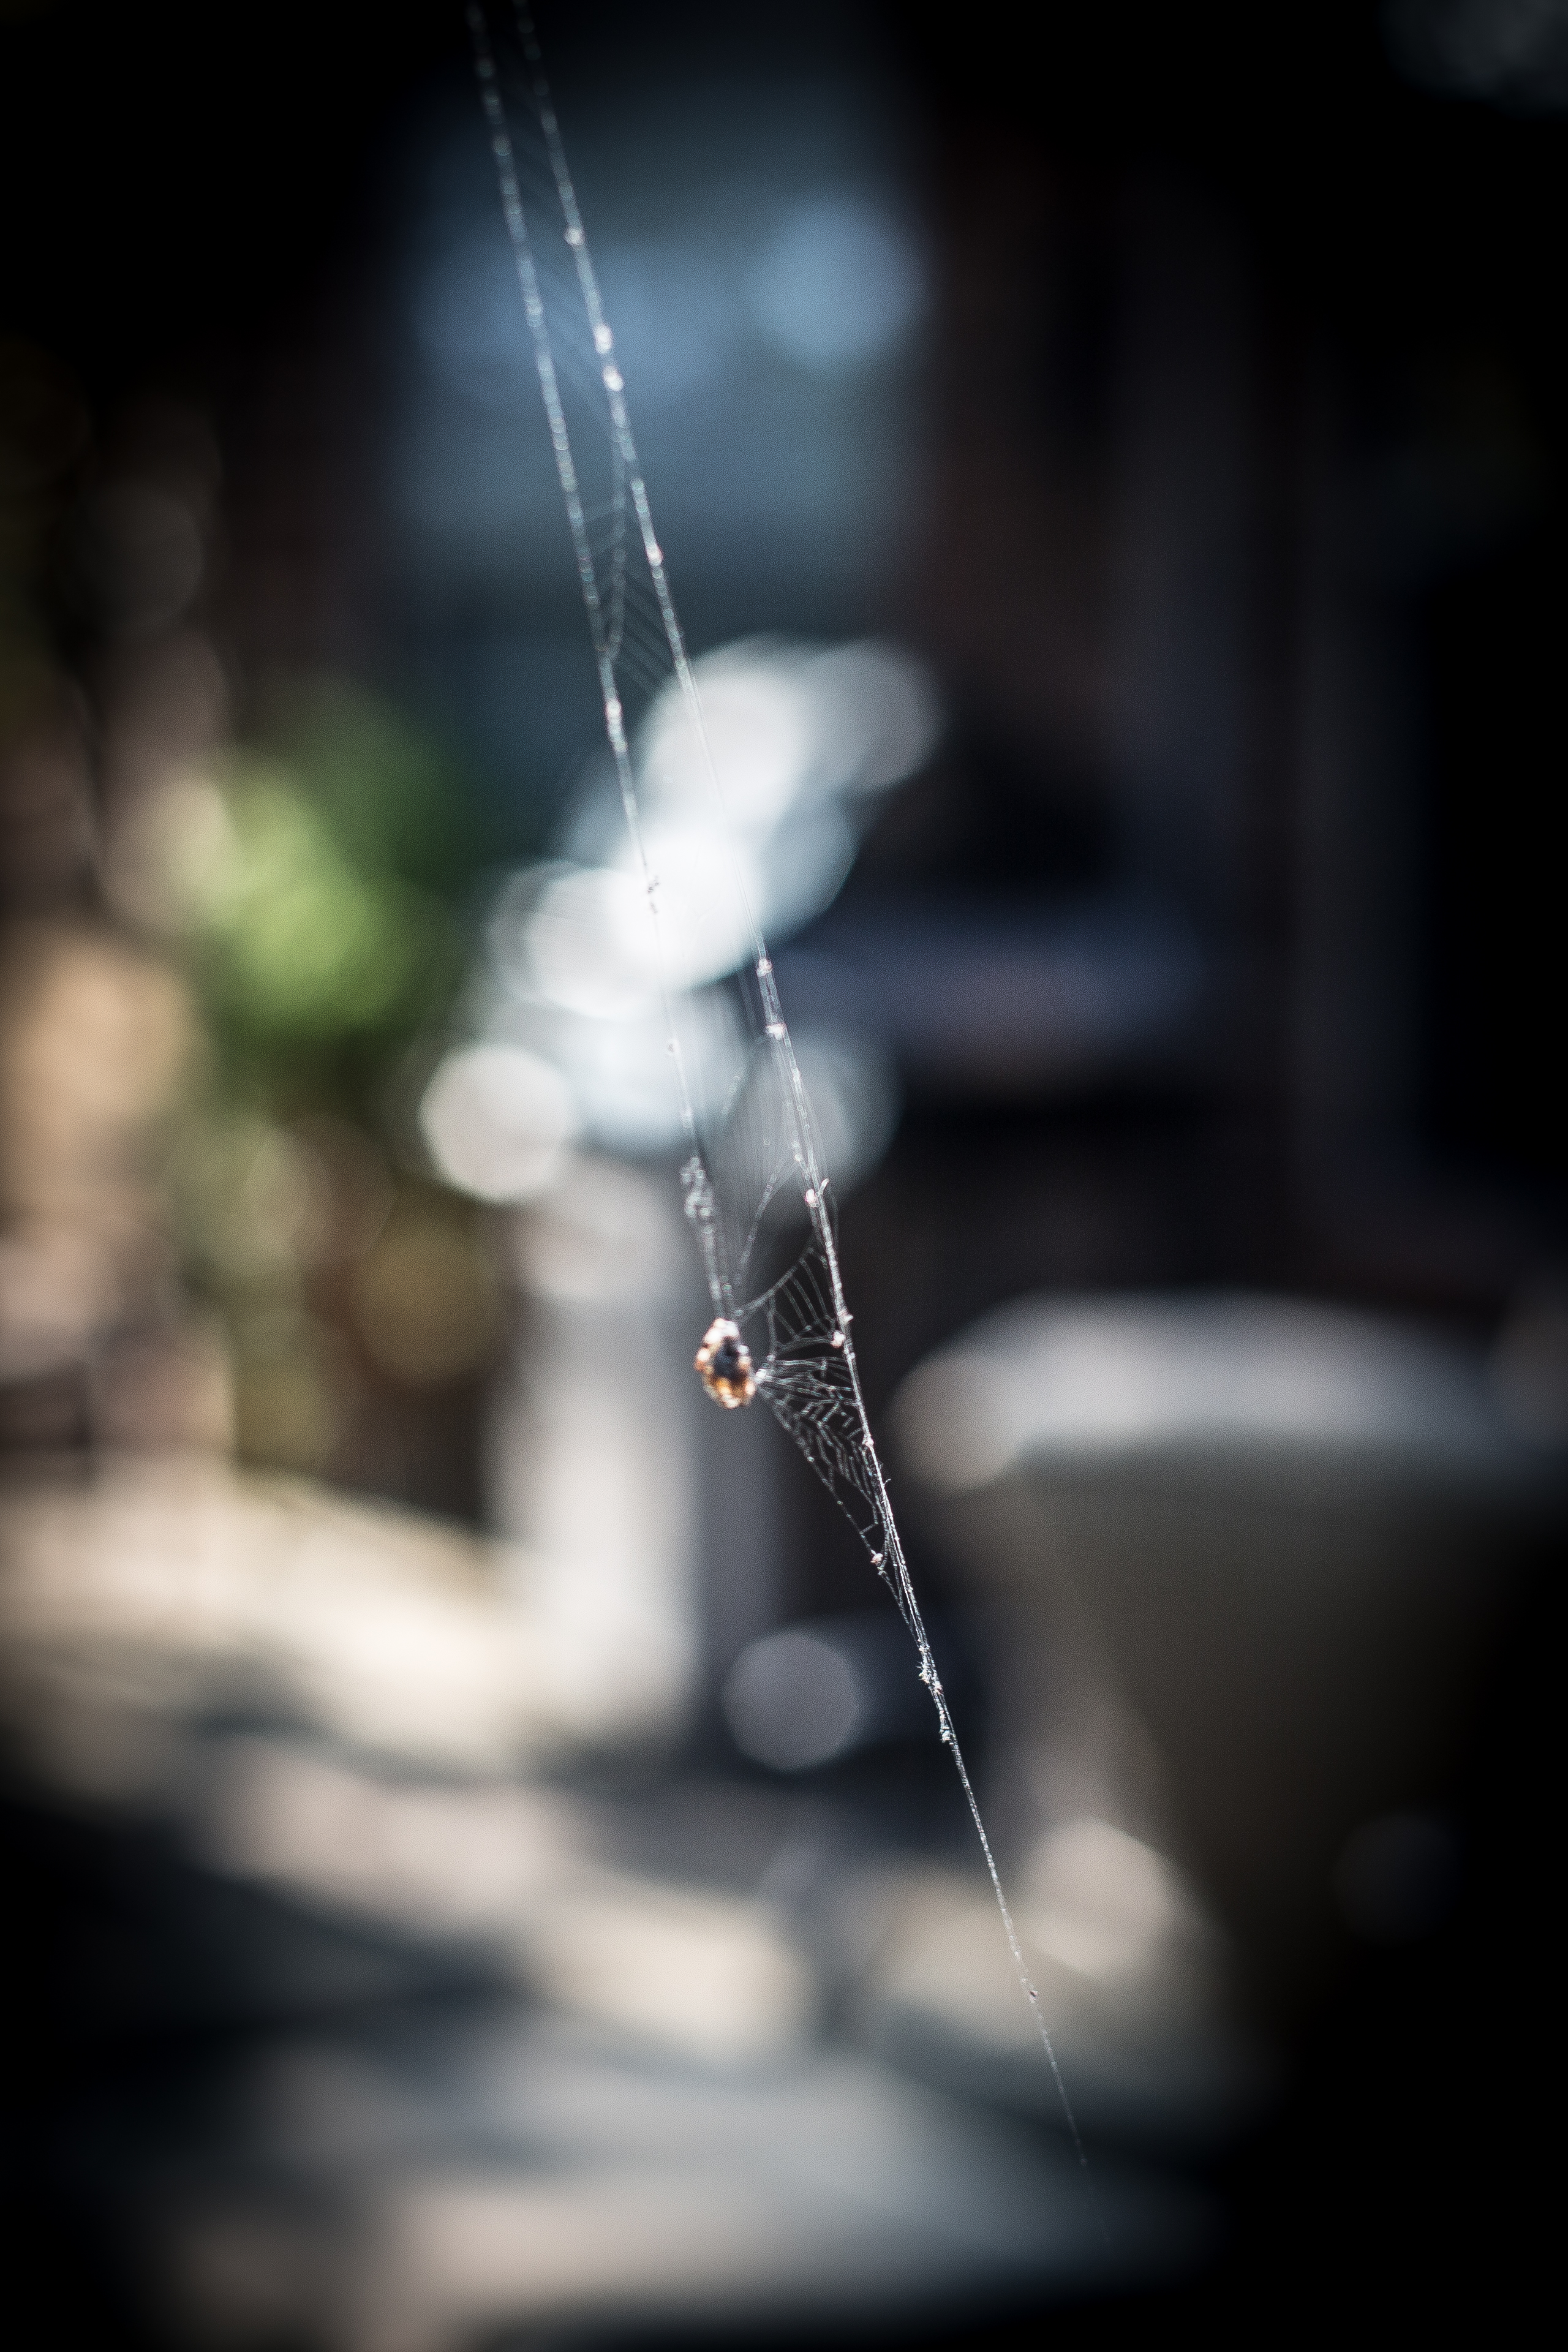
See…look at this its-bitsy spider! He’s the reason why I couldn’t work on my camera settings. I was afraid of this guy and his possible powerful bite. Wouldn’t want to know how that feels…
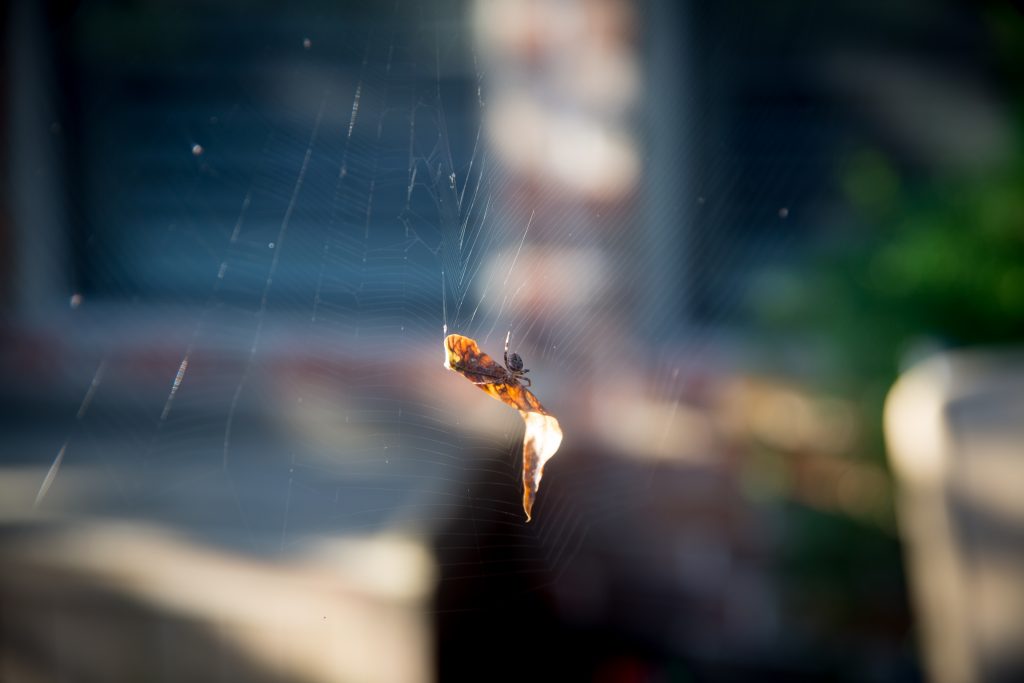
- Find a Dark Background – Well….I was pointing my camera towards my house – sort of a dark background, but I still was having trouble focusing on the spider web. Since I am very new to the world of spider web photography, I’m not sure the background made much of a difference for me. I could barely find the spider to get him in focus – it was early, so my eyes were barely working, but focusing just on the web was very hard. In fact, I tossed a couple of leaves into the web so my camera would have an easier target to focus on.
- Narrow Your Depth of Field – I did not even really consider this – I was very distracted by the spider and where he was at all times, so I did not mess with my camera settings much (I couldn’t keep my eye on the itsy-bitsy spider and change my camera settings at the same time). I kept thinking that if I looked away to mess with my settings, the spider might sneak down the web and bite me when I wasn’t paying attention! Yikes… I think most of my shots were using an f/stop near 5.6 or so??? After a few shots, I did open my Aperture to about 3.5. Now I know better – next time, I will try f/2.8!
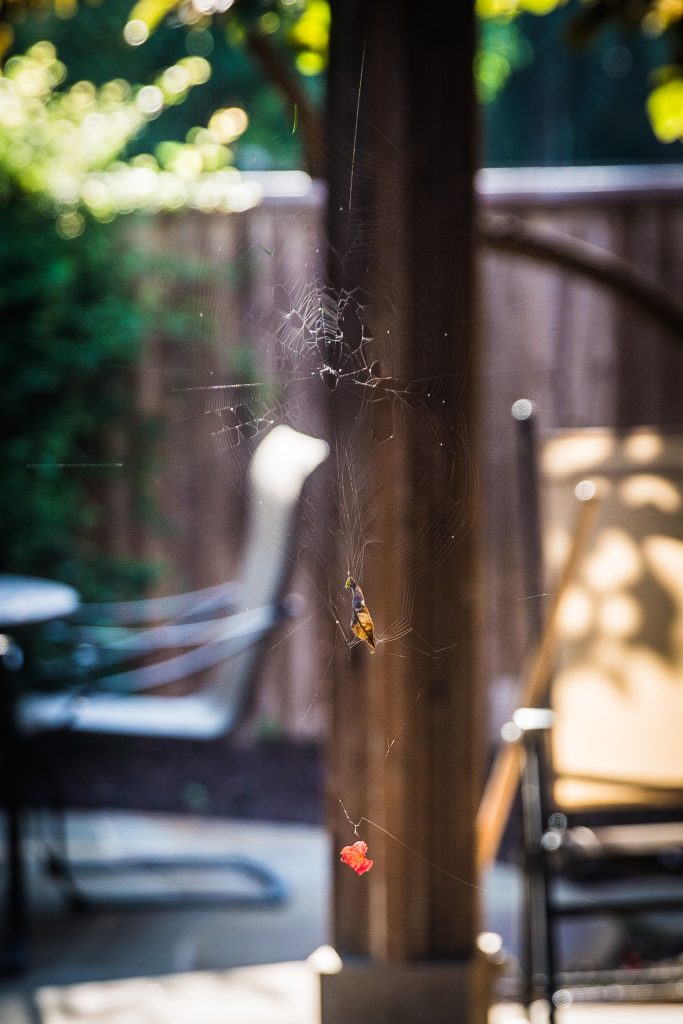
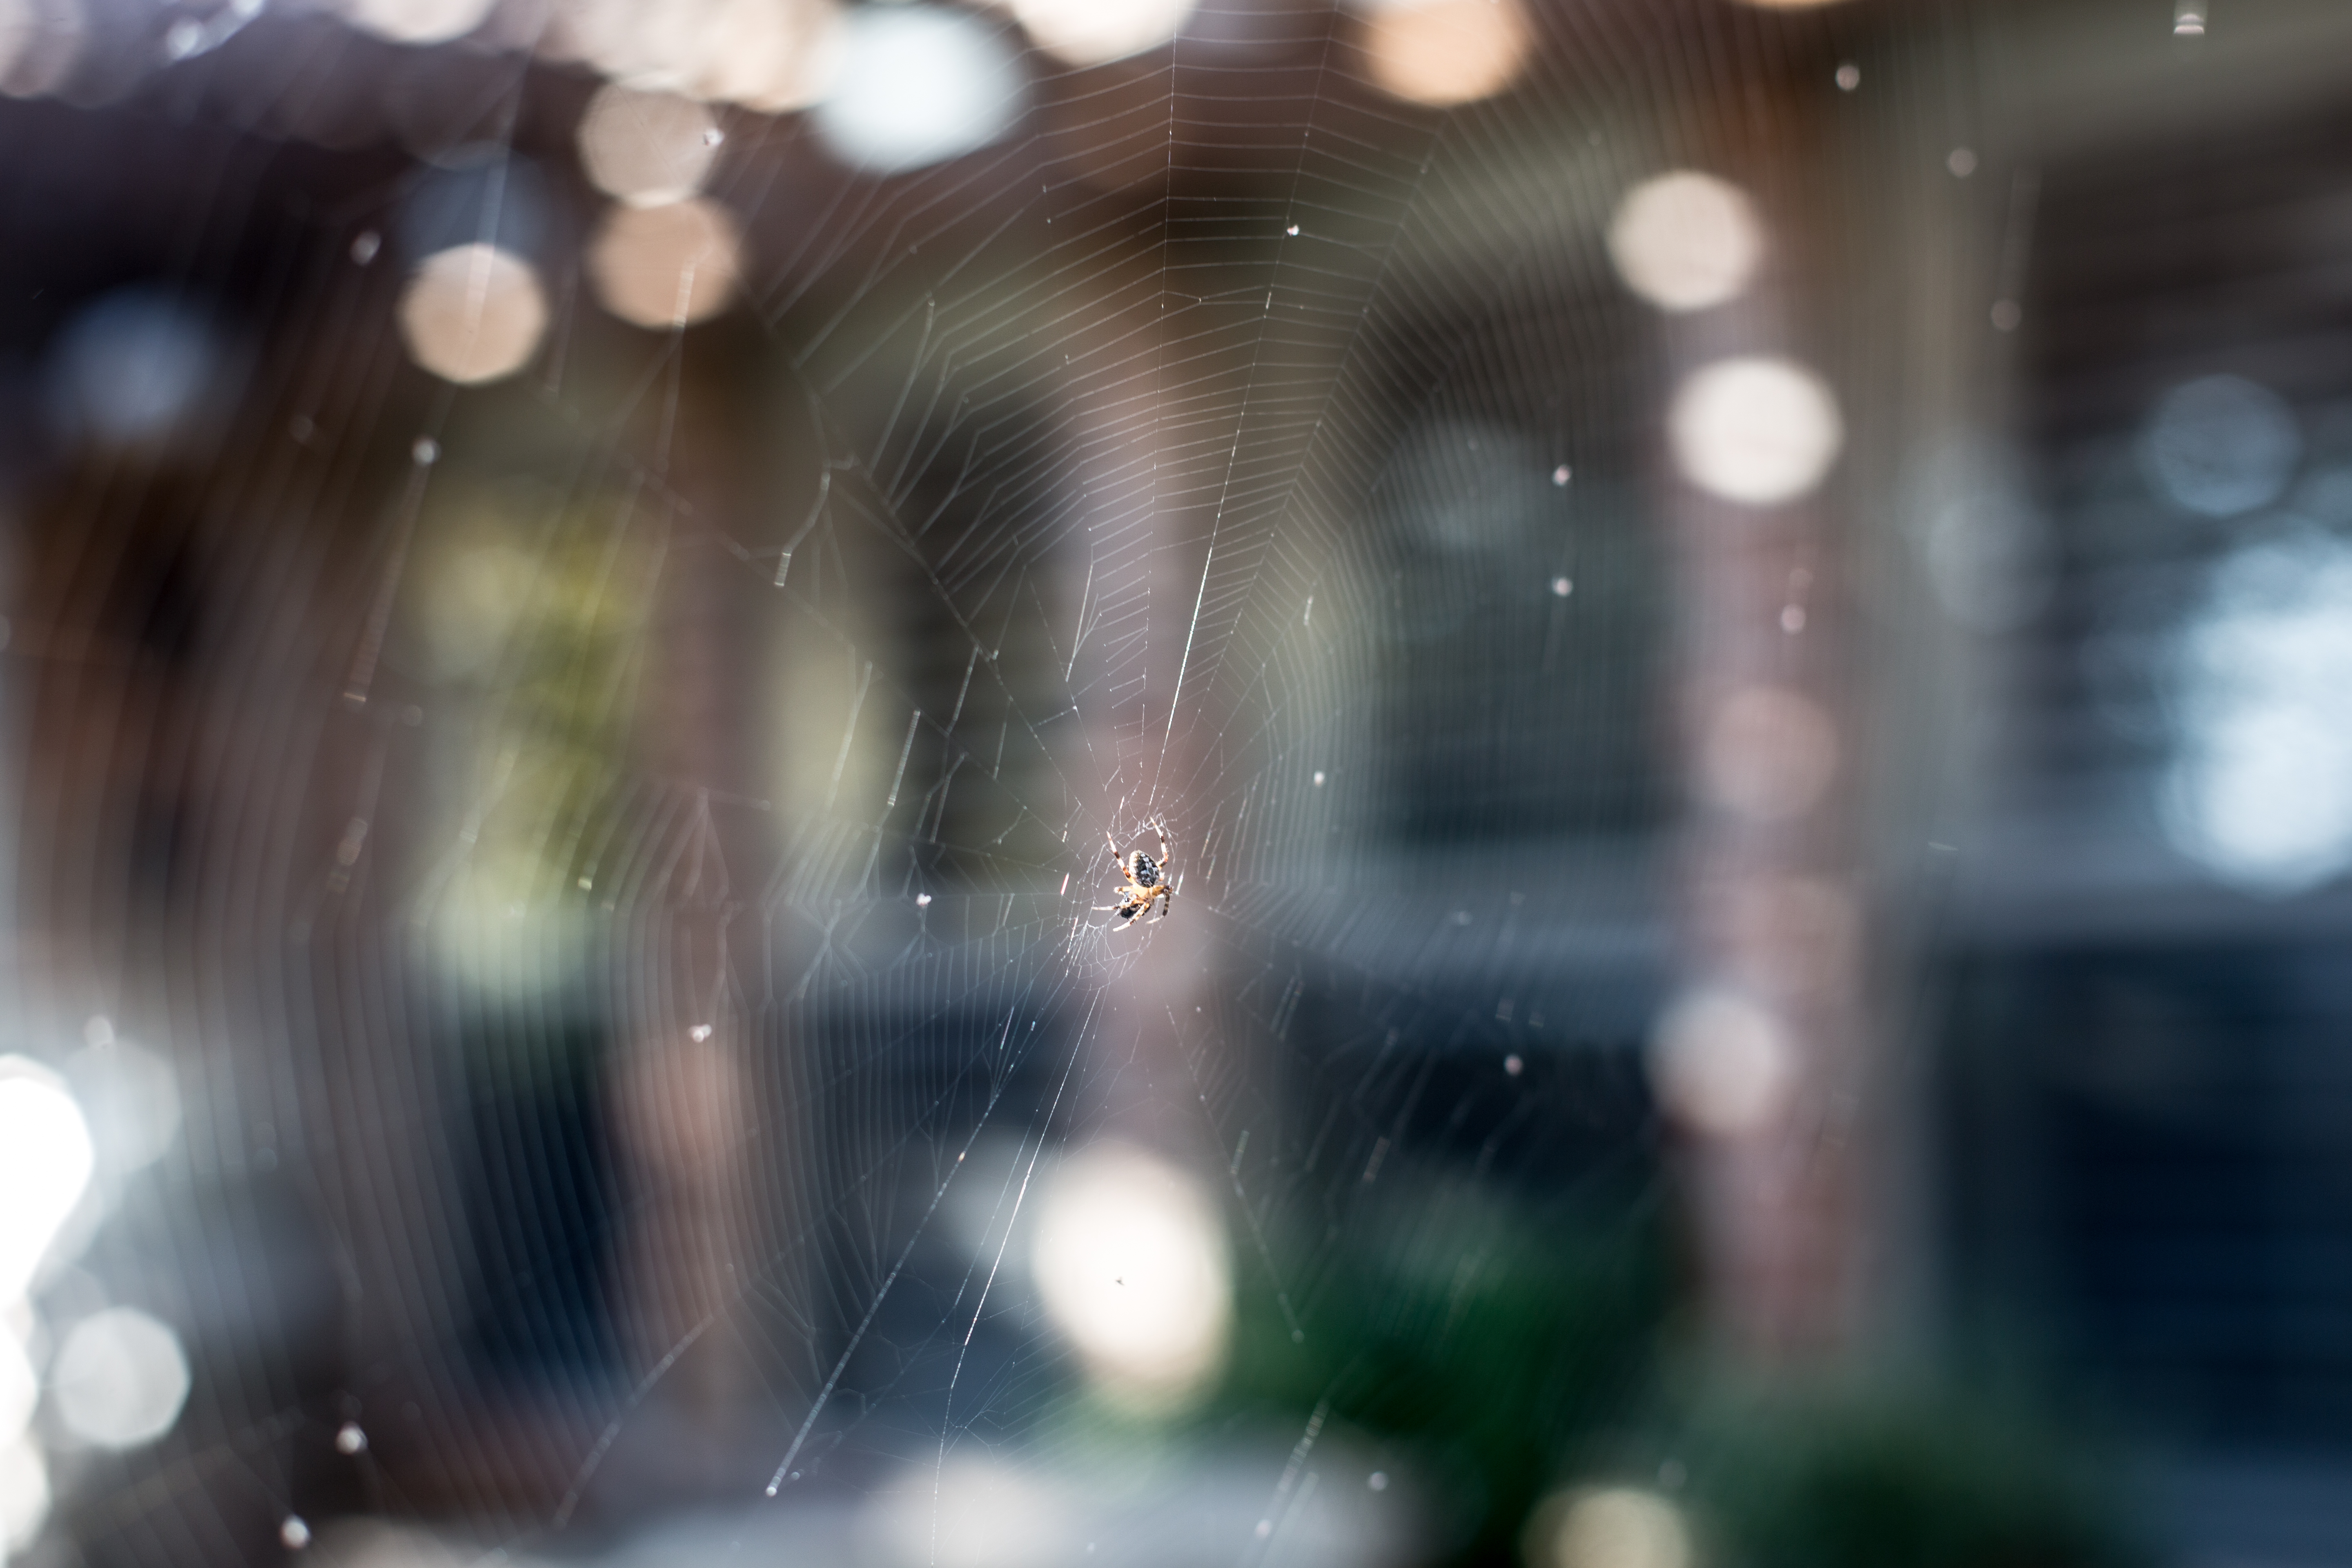
So…that is what happened on my first experience trying to photograph a spider web. The next day, guess what… My little spider friend was back. This time the web was quite a bit closer to our back door, so I snuck out quietly and squeezed passed the web – careful not to disturb it and I got myself set up for the shot! I decided to try my 50mm prime lens this time to see if it would be any easier. I got quite a few good pictures – it was another still day (no breezes anywhere), and I had my camera set to f/2.8, and I was shooting towards the trees in my yard. Sounds about right…don’t you think??
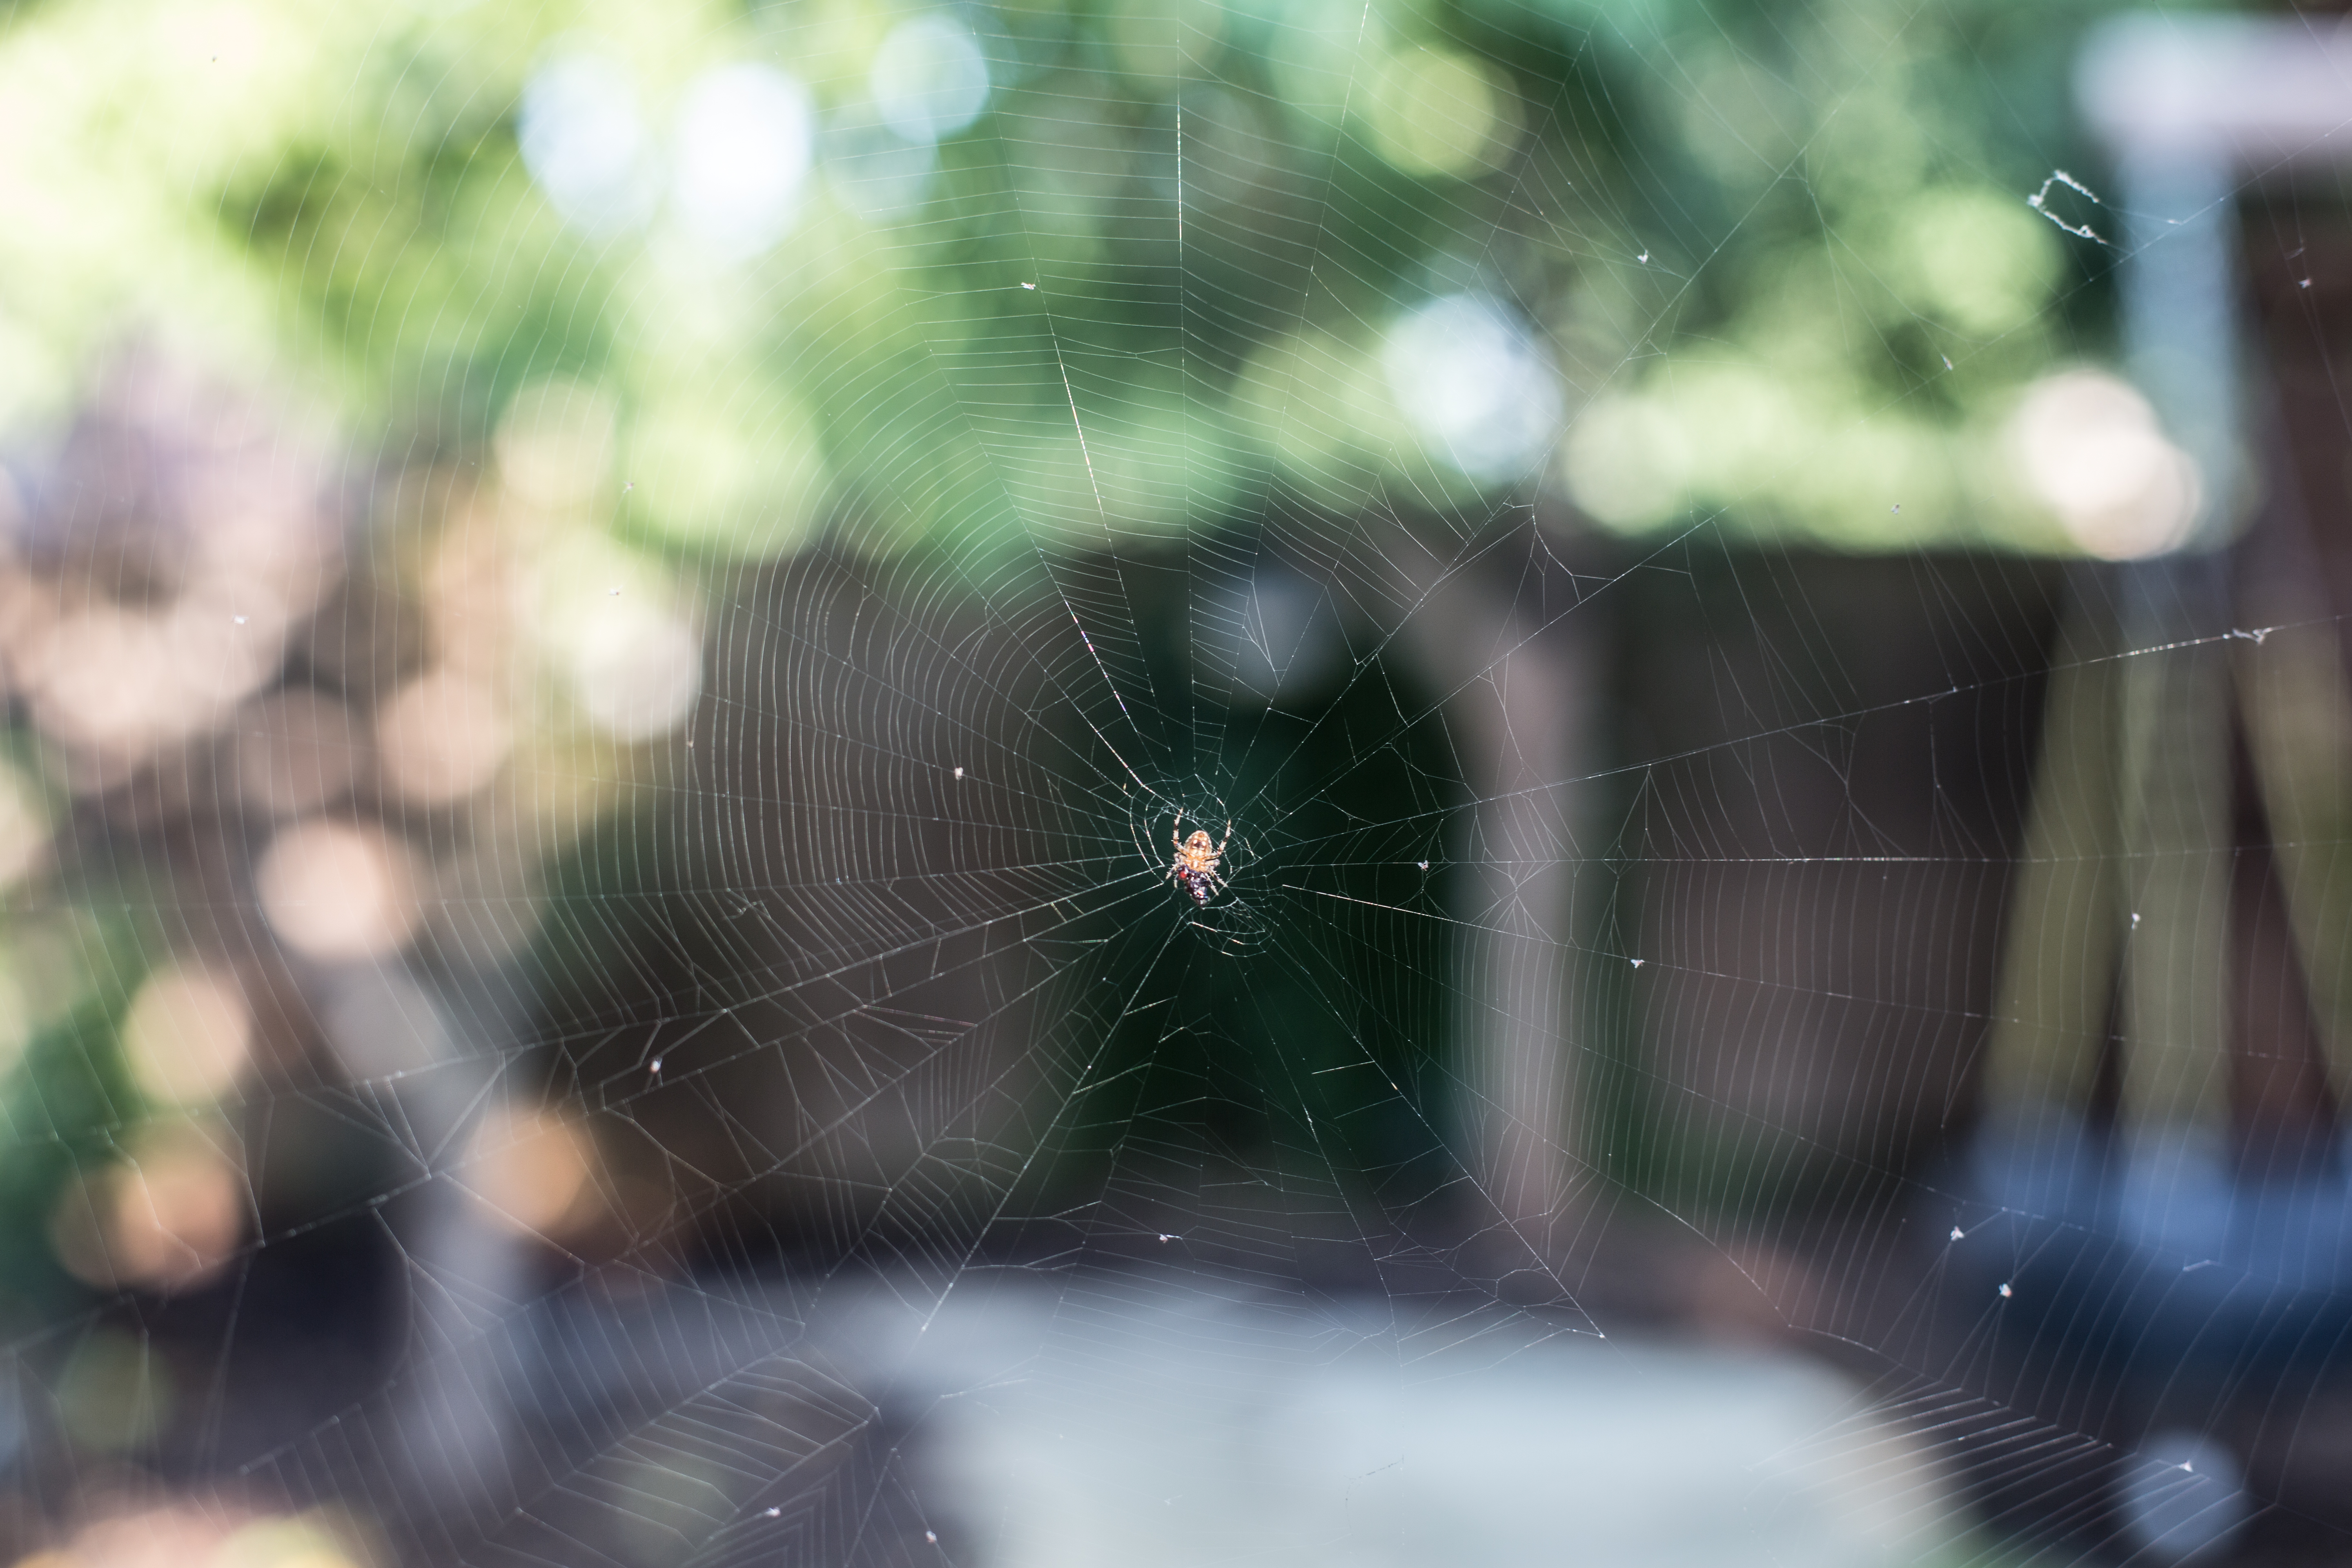
Not bad. At least you can see the entire web this time. And my itsy-bitsy spider is right there in the center of the web so my camera was not having trouble focusing.
I clicked off a few shots and got some pretty good ones I thought. I was just getting myself in the groove – easy to focus, the little spider was sitting there like he was posing for my camera. And then – BAM – the moment was over.
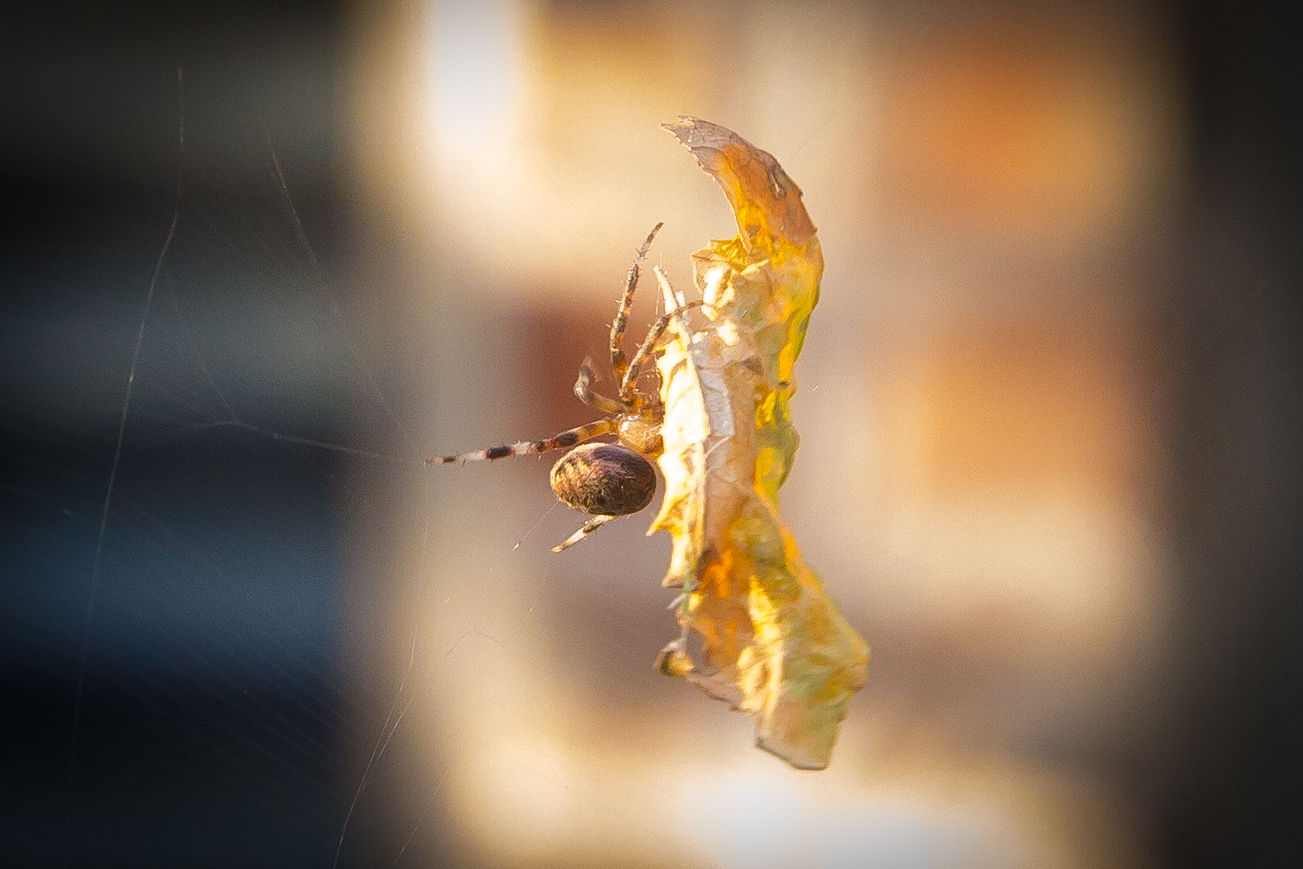
I got just gotten the web into focus again, and I was just about to take the shot when my kids opened the back door to find me, letting both dogs out. They raced out into the yard, and Bella ran right through one string of the spider web. It instantly shredded the web and it became a single little strand that the spider was desperately clinging too (very close to my face). Fortunately, the spider quickly scurried up the one string of web that was left, and disappeared up into my arbor. Opportunity lost! Rats!
I know, I know – totally blurry! I was so freaked out when my dog busted through the web. I panicked, because it started swinging towards me. I was backing away as I tried to take the shot. The spider quickly scurried up the web and was gone instantly!!
There were quite a few more helpful hints in the article (not just the 4 I talked about in this post). I suggest you read it. Just click on the article title above if you want to read it in full. I will read it one more time in hopes that my little spider friend will come back at some point to spin some more webs! I think to get a picture similar to those I see in professional photography magazines, I will need to travel to some place like Madagascar or some remote, exotic location.
When I was looking at the National Geographic website, I saw some pretty spectacular pictures of spider webs. It was called Photos: World’s Biggest, Strongest, Spider Webs Found. In fact, they are so impressive that they look fake. It looks like someone made them out of nice, thick string! I don’t think I’ll find one like that here in my backyard in Allen, Texas. But…if I ever have an opportunity to travel to Madagascar, I just might be able to find one of these impressive webs! Goodluck with your spider web photography! I hope you have a good experience. I had fun, but I’ve got a long way to go. And remember…where there is a spider-web, there’s bound to be a spider somewhere close by! Until next time…